

Alright, I hope this layout has added some smile and sunshine today!


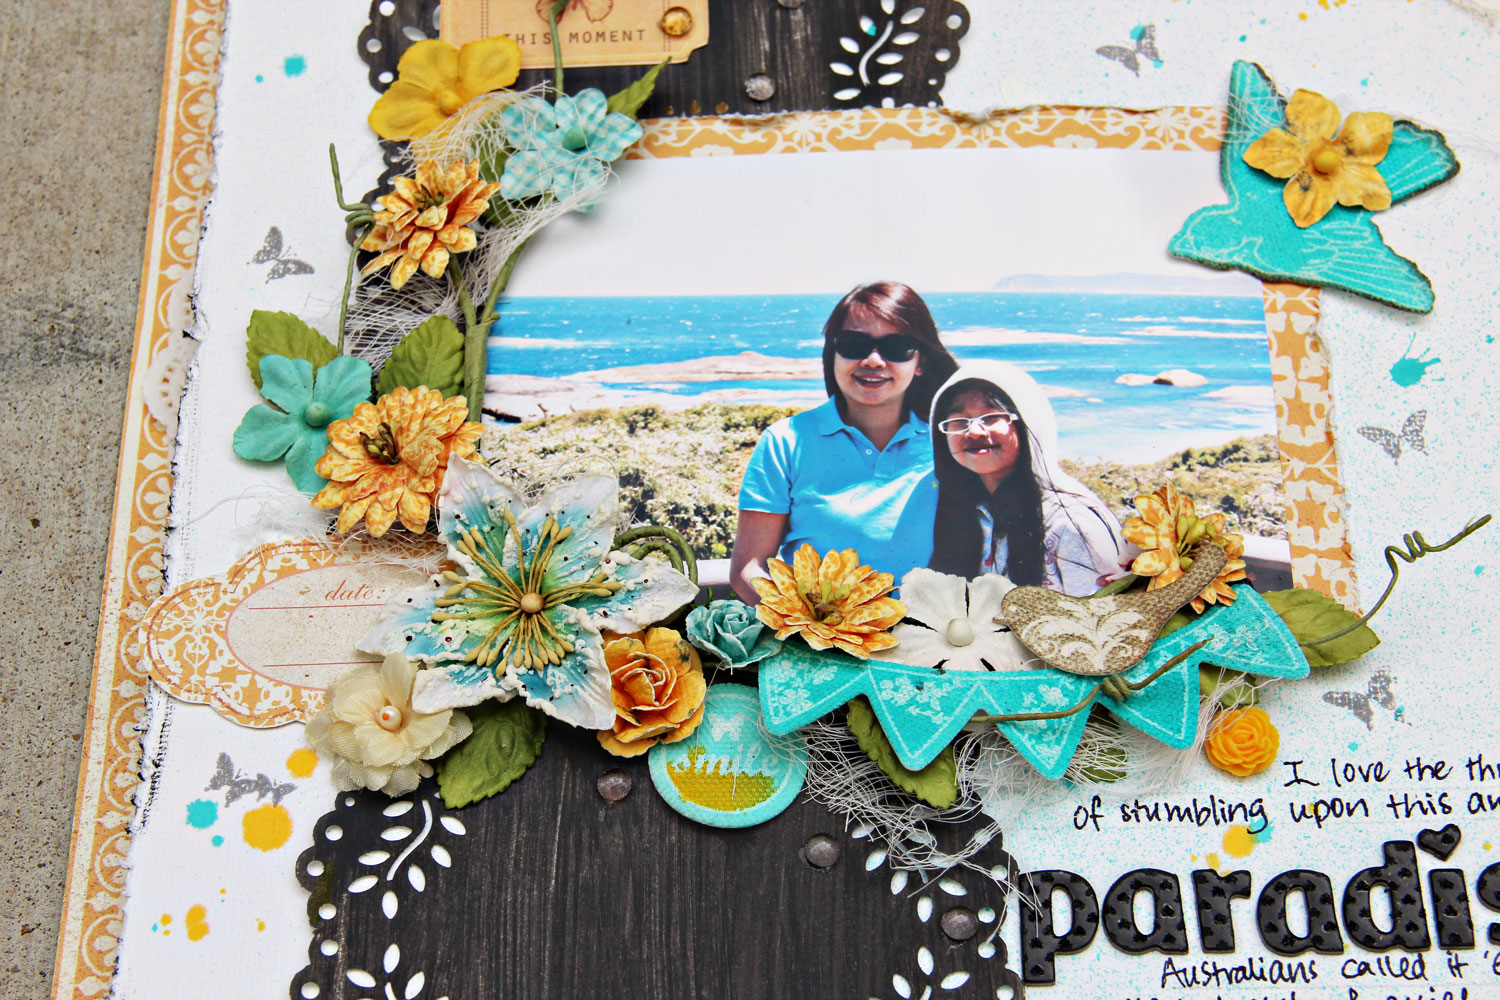

I use some new Melissa Frances here... I just love their papers and resin. Did i tell you I have a secret obsession with these resin pieces? shhh.... i collect 1 in every design... or maybe 2.... oops! my secret is out. I know.. I found some design in 2s. hmmm....
1) I didn't start with any design in mind. I just layer and layer till i like it. Do you scrap like this sometimes? 2) I added in some seam binding. If you want to buy some, i made some to sell. Look at my sale page ... HERE 3) Oh.. those mica flakes.. my fave medium now!!!! Hope you like this layout. see you soon
 The Cover: I applied gesso with a Crafter's Workshop mask.. see those cute prints.. then I wash it over with teal paint. Then splatter some yellow Maya Mists. Awesome color combo for me!
 My kids love eating at Ikea because they get to see the kids furniture (their dream home apparently) ... while my hubby and I love the meat balls and fried chicken wings.

 And now some Maya Road goodies for sale. See these 3 boxes of Maya Road products. i am selling part of each because these comes in such a huge assortment


 I chose 6 sheets(these measure 12x12) and from each sheet I cut 3 pieces of 9x3 inches papers. See this picture below.
I have decided to have a 9x3 inch notepad! nice and tall.
I chose 6 sheets(these measure 12x12) and from each sheet I cut 3 pieces of 9x3 inches papers. See this picture below.
I have decided to have a 9x3 inch notepad! nice and tall.  Next, I stack all the cut up papers together and clip it tightly with a clip. Then i apply glue to the top part. I repeated this maybe 3 times. Just to get the glue to the paper. So it will look like a notepad where you tear from the top.
 While waiting for the glue to dry, let's work on the cover.
  Then I painted it with a coat of blue paint.
 Painted the inside but only 1 inch from the edge.
 Fold the lace over the chipboard and paste down. Fabric glue works better here.
 Paste down the notepad on the right.
  Finally embellish the cover as you like.

 Process:
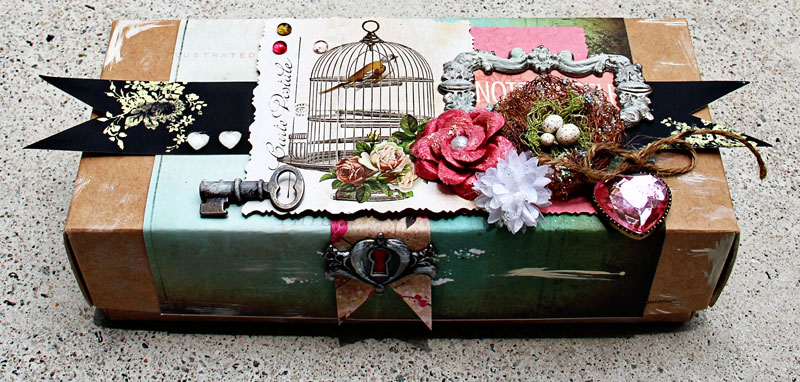 Process:
  thanks for dropping by. See you soon!
 see the top fabric flower by Prima. it is originally white.. i 'inject' some blue and pink mist on it. I didn't spray though.. I took the spray noze out and jab at the flower. Fun!
 Here's a variety of fussy cutting from the G45 papers.. I love cutting!
Meanwhile check out my sale page. HERE
Here's a variety of fussy cutting from the G45 papers.. I love cutting!
Meanwhile check out my sale page. HERE


